Minecraft is a highly popular game that can be enjoyed on a wide range of devices, including Chromebooks. These convenient and user-friendly devices run on Chrome OS, but many users are curious about the compatibility of Minecraft with Chromebooks. The good news is, yes, it is indeed possible to play Minecraft on a Chromebook!
In this comprehensive guide, we'll walk you through the entire installation process and share some valuable tips to enhance your gaming performance.
Table of Contents:
- General Information About Minecraft on a Chromebook
- Enabling Developer Mode
- Installing Minecraft on Chromebook
- Running the Game
- How to Play Minecraft on a Chromebook with Low Specs
- Enhancing Performance on Chrome OS
General Information About Minecraft on a Chromebook
To ensure stable game performance, your Chromebook should meet the following specifications:
- System Architecture: 64-bit (x86_64, arm64-v8a)
- Processor: AMD A4-9120C, Intel Celeron N4000, Intel 3865U, Intel i3-7130U, Intel m3-8100Y, Mediatek Kompanio 500 (MT8183), Qualcomm SC7180 or better
- RAM: 4 GB
- Storage: At least 1 GB of free space
These are the minimum requirements for running Minecraft on a Chromebook. If you experience stuttering despite meeting these specifications, don't worry—we have a helpful guide at the end of this article to address performance issues. Let's dive into the installation process.
You can install the Bedrock Edition directly from the Google Play Store, which is a straightforward process. Simply open the store, search for Minecraft, and navigate to its page. Note that the game costs $20, but if you already own the Android version ($7), you'll only need to pay an additional $13. This method is ideal for those looking for a quick and easy installation.
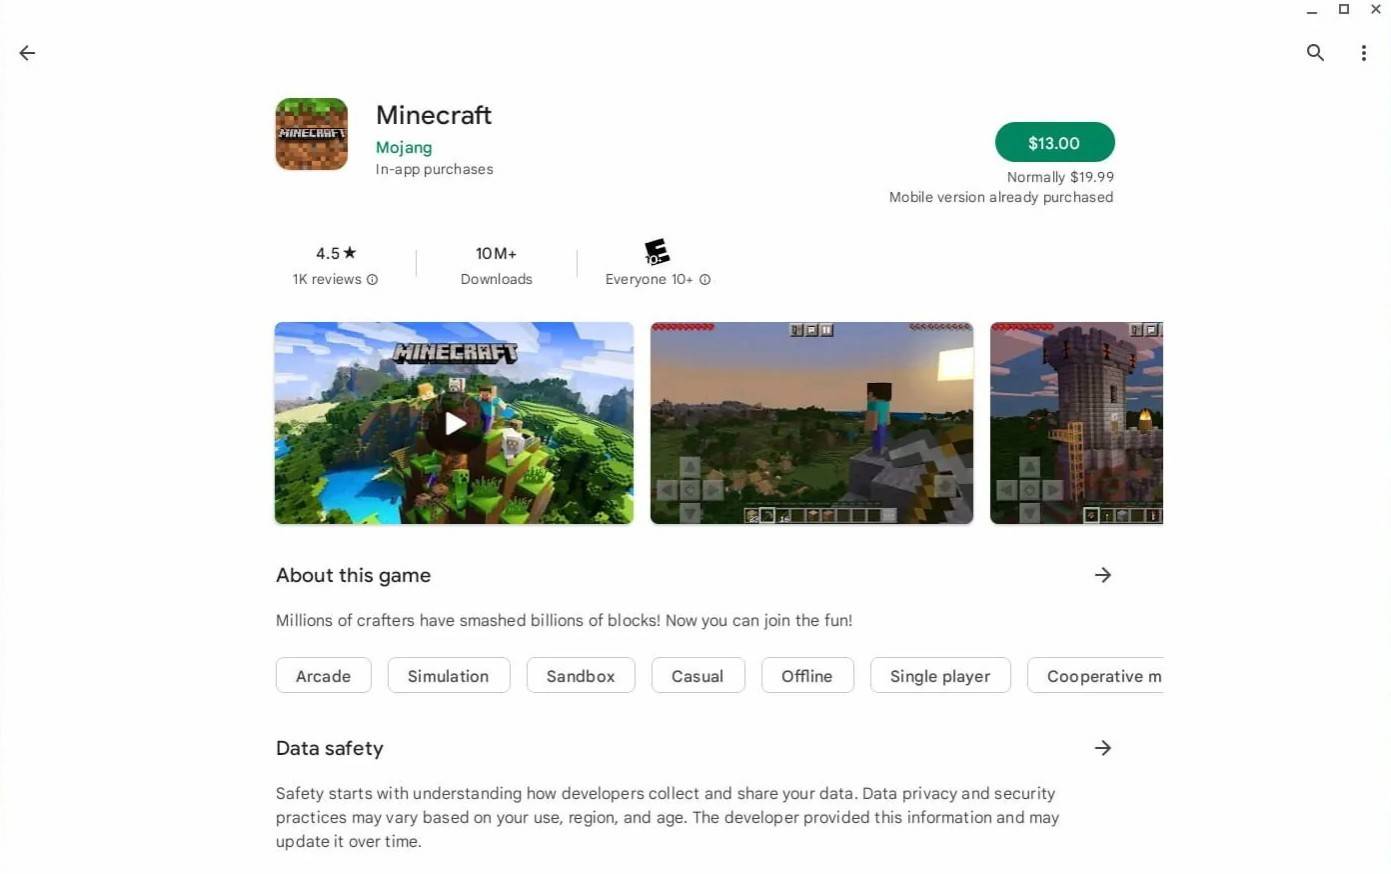
Image: aboutchromebooks.com
However, if the Bedrock Edition isn't your preference, there's an alternative. Since Chrome OS is based on Linux, and Minecraft has long been available for Linux, you can install the Java Edition. This method requires more attention to detail due to the differences from Windows, including writing some code. Don't worry—we've prepared a detailed guide to help you install and enjoy Minecraft on your Chromebook in just half an hour.
Enabling Developer Mode
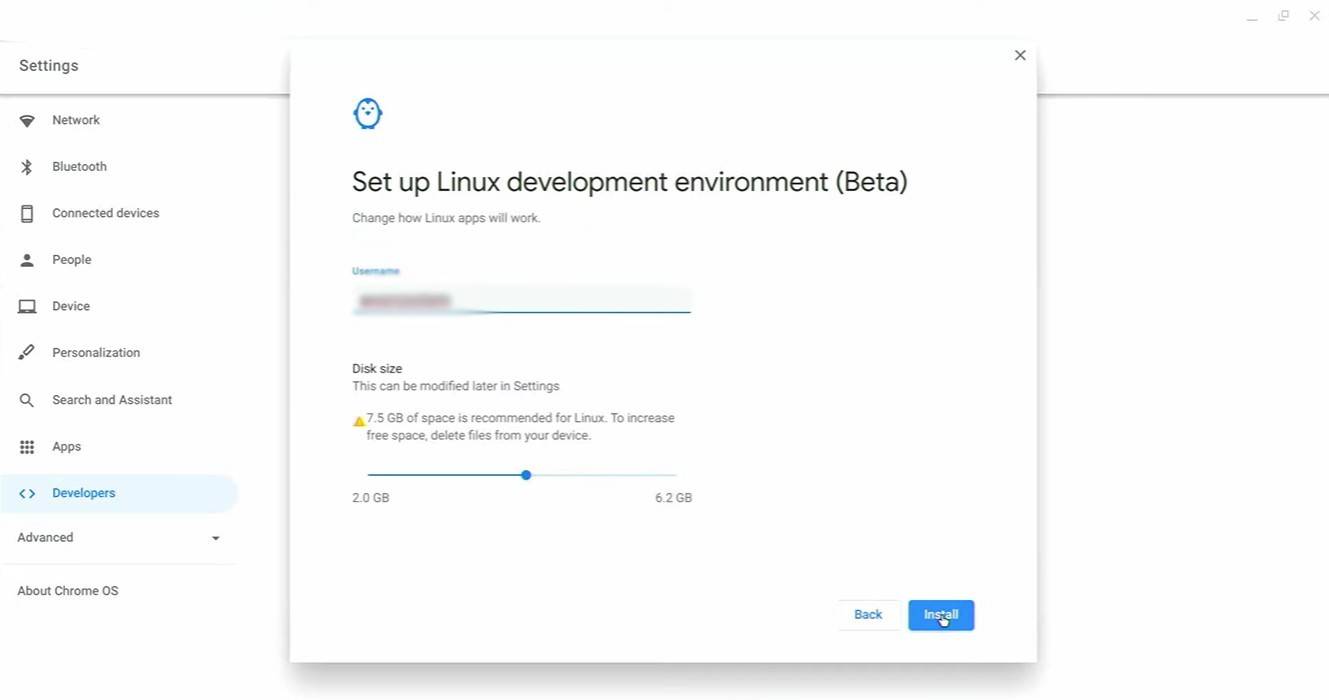
Image: youtube.com
To start, you'll need to enable Developer Mode on your Chromebook. This tells Chrome OS that you're ready to make advanced changes. Navigate to the settings menu (similar to the "Start" menu on other systems) and find the "Developers" section. Enable the "Linux development environment" option and follow the on-screen instructions. Once complete, the Terminal will open—a program akin to the command prompt on Windows—where you'll continue the installation process.
Installing Minecraft on Chromebook
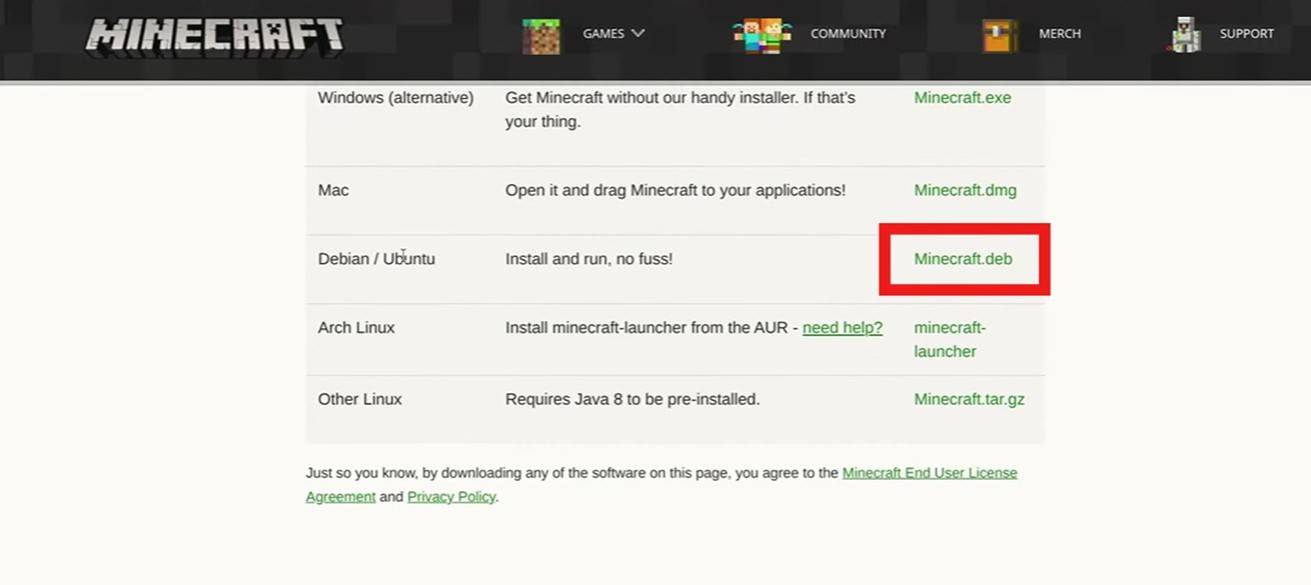
Image: youtube.com