Conquering Zoma's Citadel: A Complete Dragon Quest 3 Remake Walkthrough
After a long journey through Dragon Quest 3 Remake's quests and dungeons, the final challenge awaits: Zoma's Citadel. This demanding dungeon tests your party's skills and knowledge, requiring strategic use of everything learned. This guide provides a comprehensive walkthrough, including treasure locations and boss strategies.
Reaching Zoma's Citadel

Following Baramos' defeat, you enter Alefgard's perpetually dark world. Zoma's Citadel is your ultimate destination, requiring the creation of the Rainbow Drop:
- Sunstone: Found in Tantegel Castle.
- Staff of Rain: Located in the Shrine of the Spirit.
- Sacred Amulet: Obtained from Rubiss after freeing her in the Tower of Rubiss (requires the Faerie Flute).
Combine these items to create the Rainbow Drop, forming the Rainbow Bridge to Zoma's Citadel.
Zoma's Citadel 1F Walkthrough

1F Main Path: Navigate the chamber, circling either east or west to reach the throne in the north. The throne moves, revealing a hidden passage. Living Statues guard the central chamber; treat them as formidable boss encounters.
1F Treasure:
- Treasure 1 (Buried): Mini Medal (behind throne).
- Treasure 2 (Buried): Seed of Magic (near electrified panel).
Zoma's Citadel B1 Walkthrough

The main path leads directly to B2. However, using the 1F stair sets leads to an isolated B1 chamber containing:
- Treasure 1 (Chest): Hapless Helm
Zoma's Citadel B2 Walkthrough

B2 Main Path: Cross the directional tiles to reach the stairs to B3. (See "Directional Tile Guide" below).
Directional Tile Guide: These tiles are complex. Practice in the Tower of Rubiss (3rd floor, NW corner) if needed. The diamond shape indicates direction.
- North/South: Blue half on left = press left; Blue half on right = press right. Orange follows the same logic.
- East/West: If the orange arrow points your desired direction, press UP; otherwise, press DOWN.
B2 Treasure:
- Treasure 1 (Chest): Scourge Whip
- Treasure 2 (Chest): 4,989 Gold Coins
Zoma's Citadel B3 Walkthrough

B3 Main Path: Follow the outer edge of the chamber. A detour to the southwest reveals Sky, a friendly Soaring Scourger.
B3 Isolated Chamber: 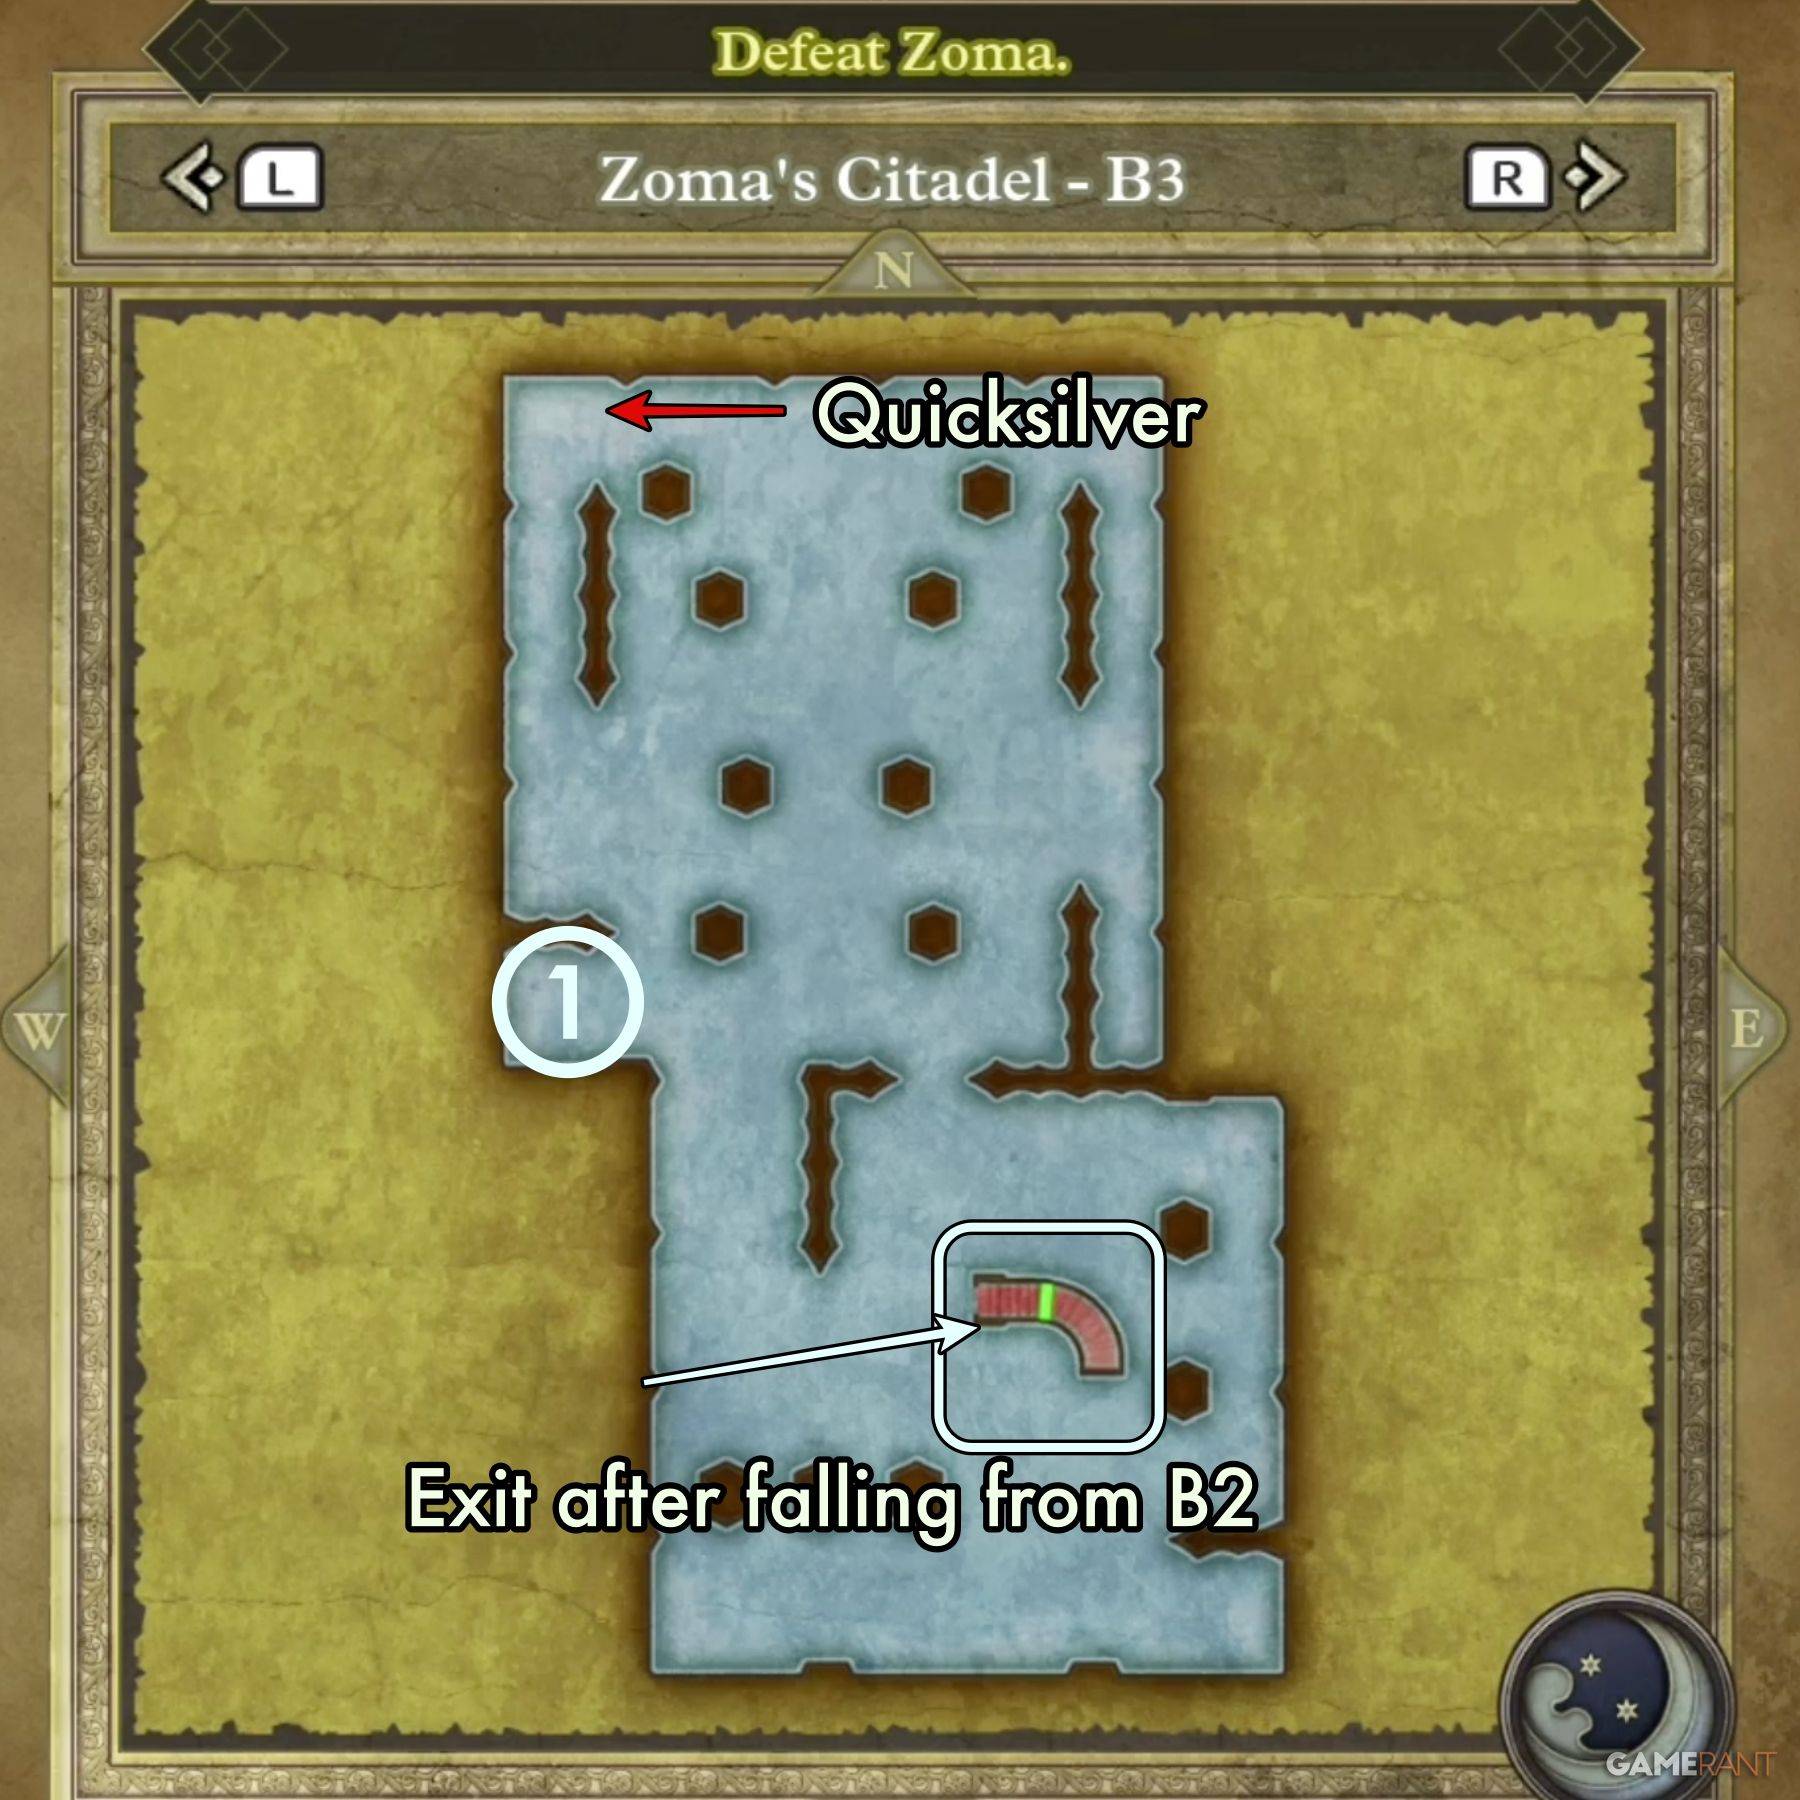 Falling through holes on B2 leads here. A friendly Liquid Metal Slime resides in the NW corner. Exit via the eastern stairs.
B3 Treasure:
Main Chamber:
- Treasure 1 (Chest): Dragon Dojo Duds
- Treasure 2 (Chest): Double-Edged Sword
Isolated Chamber:
- Treasure 1 (Chest): Bastard Sword
Zoma's Citadel B4 Walkthrough

B4 Main Path: Navigate from the center-south, moving upwards and around to the southeast exit. A cutscene plays upon entry.
B4 Treasure: (Six chests in one chamber, right to left)
- Treasure 1 (Chest): Shimmering Dress
- Treasure 2 (Chest): Prayer Ring
- Treasure 3 (Chest): Sage's Stone
- Treasure 4 (Chest): Yggdrasil Leaf
- Treasure 5 (Chest): Dieamend
- Treasure 6 (Chest): Mini Medal
Defeating Zoma

The final section involves a boss gauntlet: King Hydra, Soul of Baramos, and Bones of Baramos, before facing Zoma. You can use items between fights.
King Hydra: ( 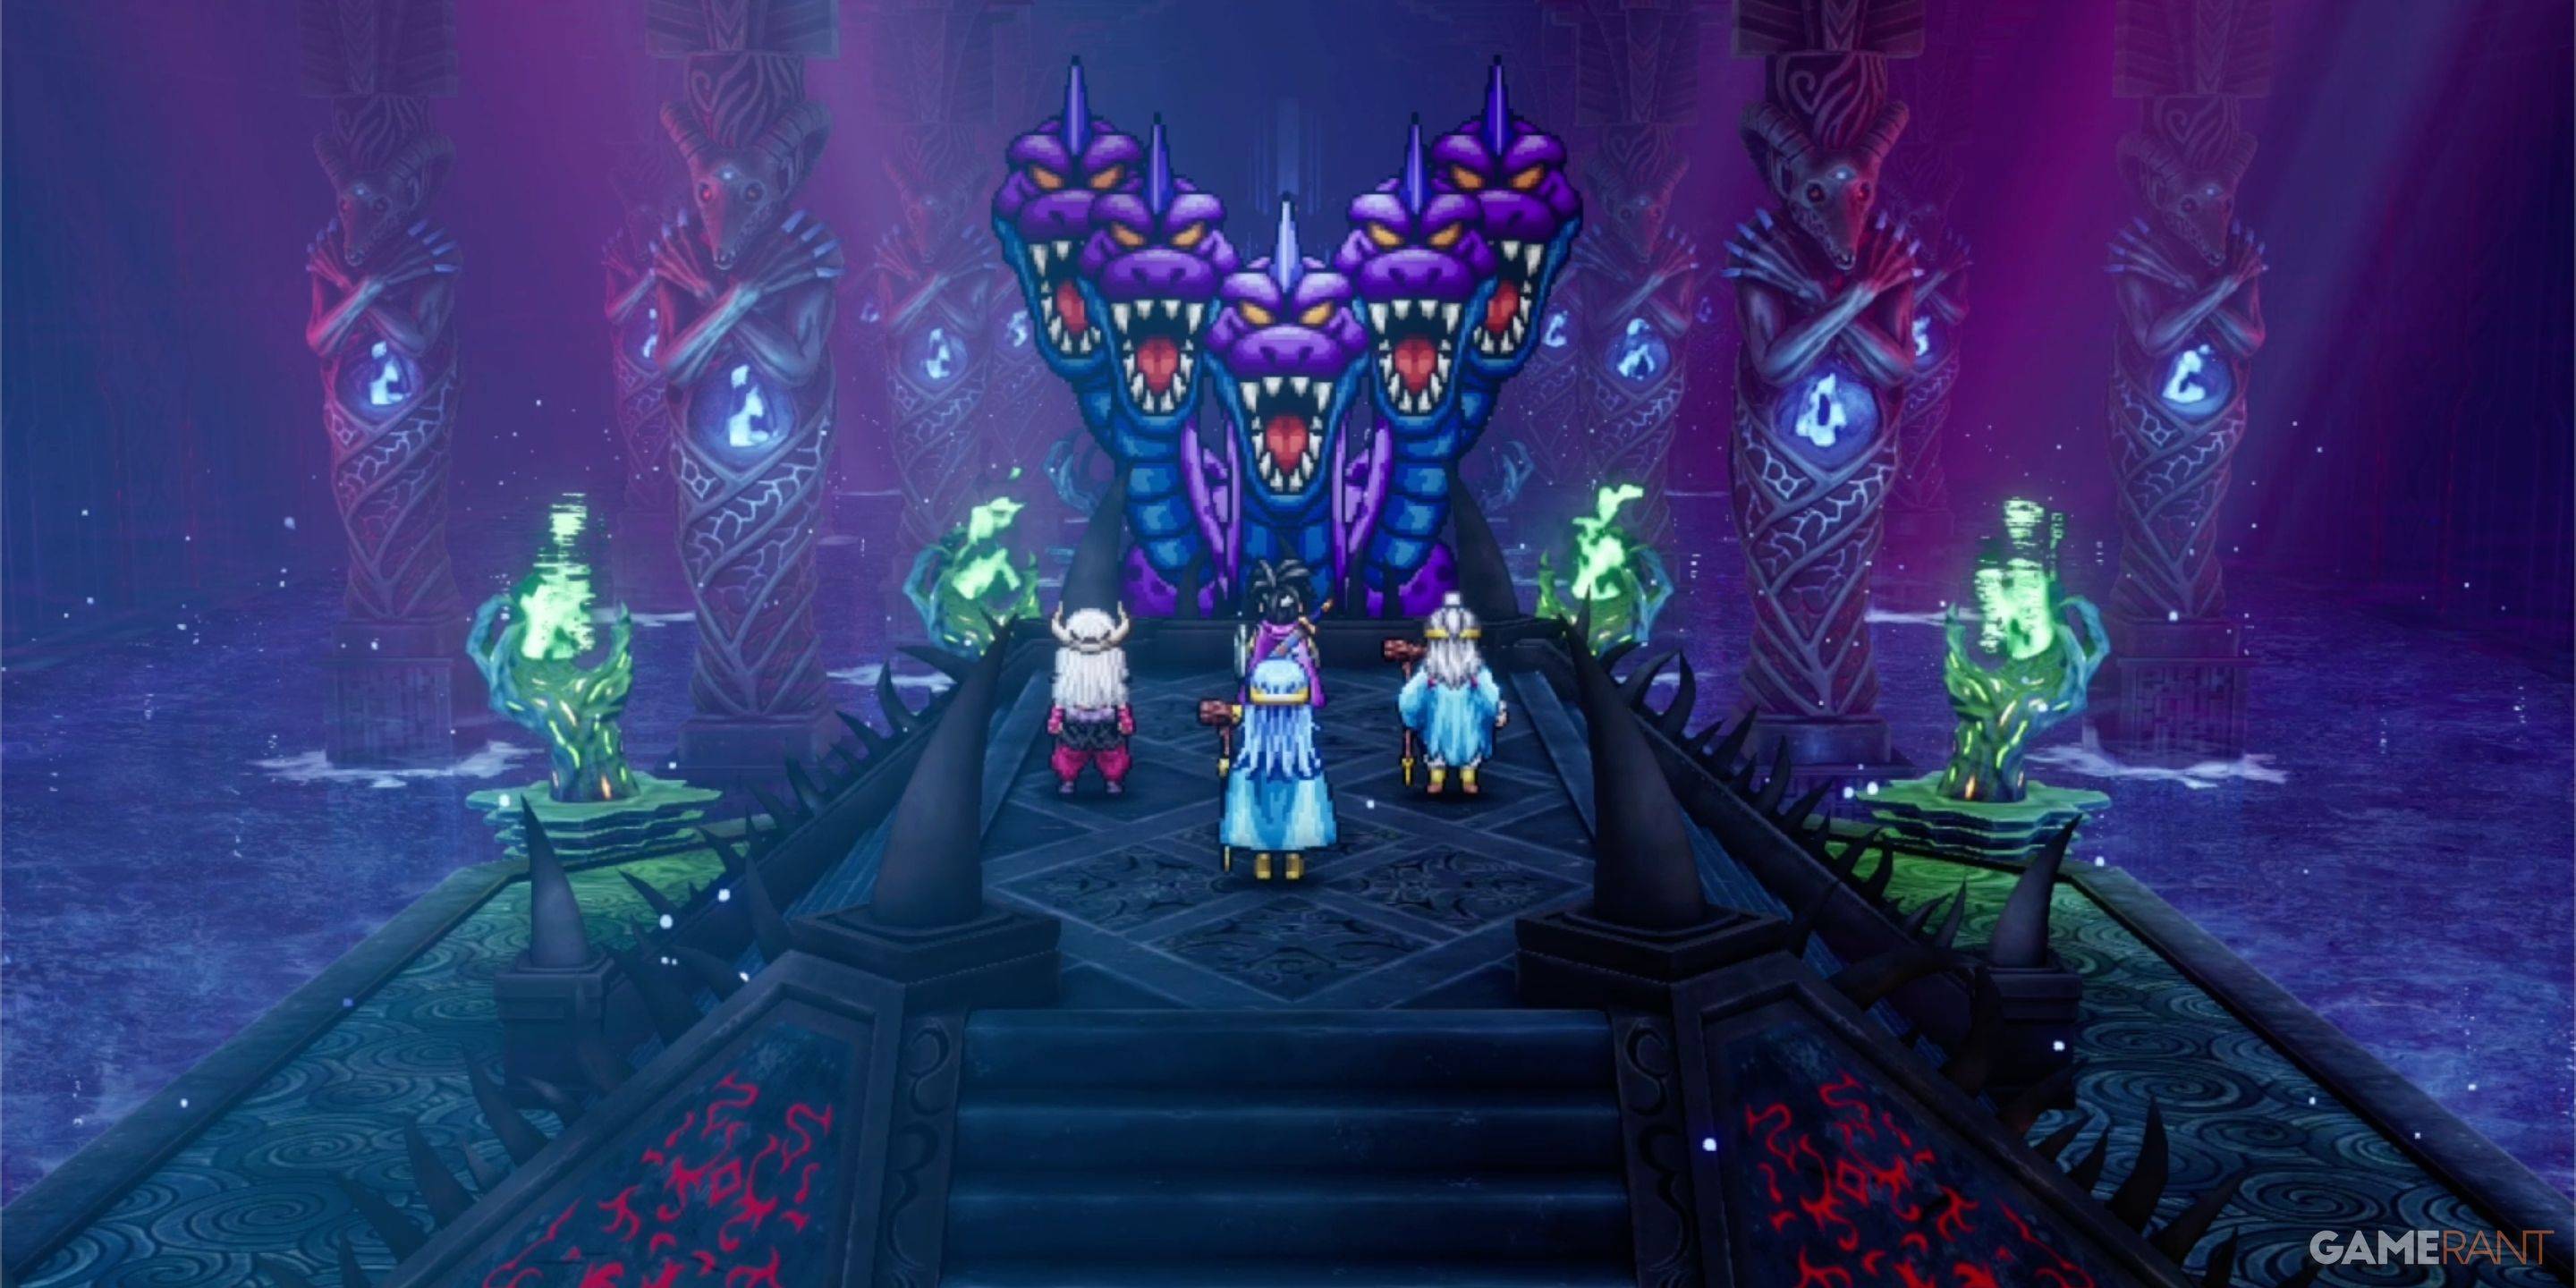 ) Aggressive tactics are effective. Kazap spell inflicts significant damage.
Soul of Baramos: ( 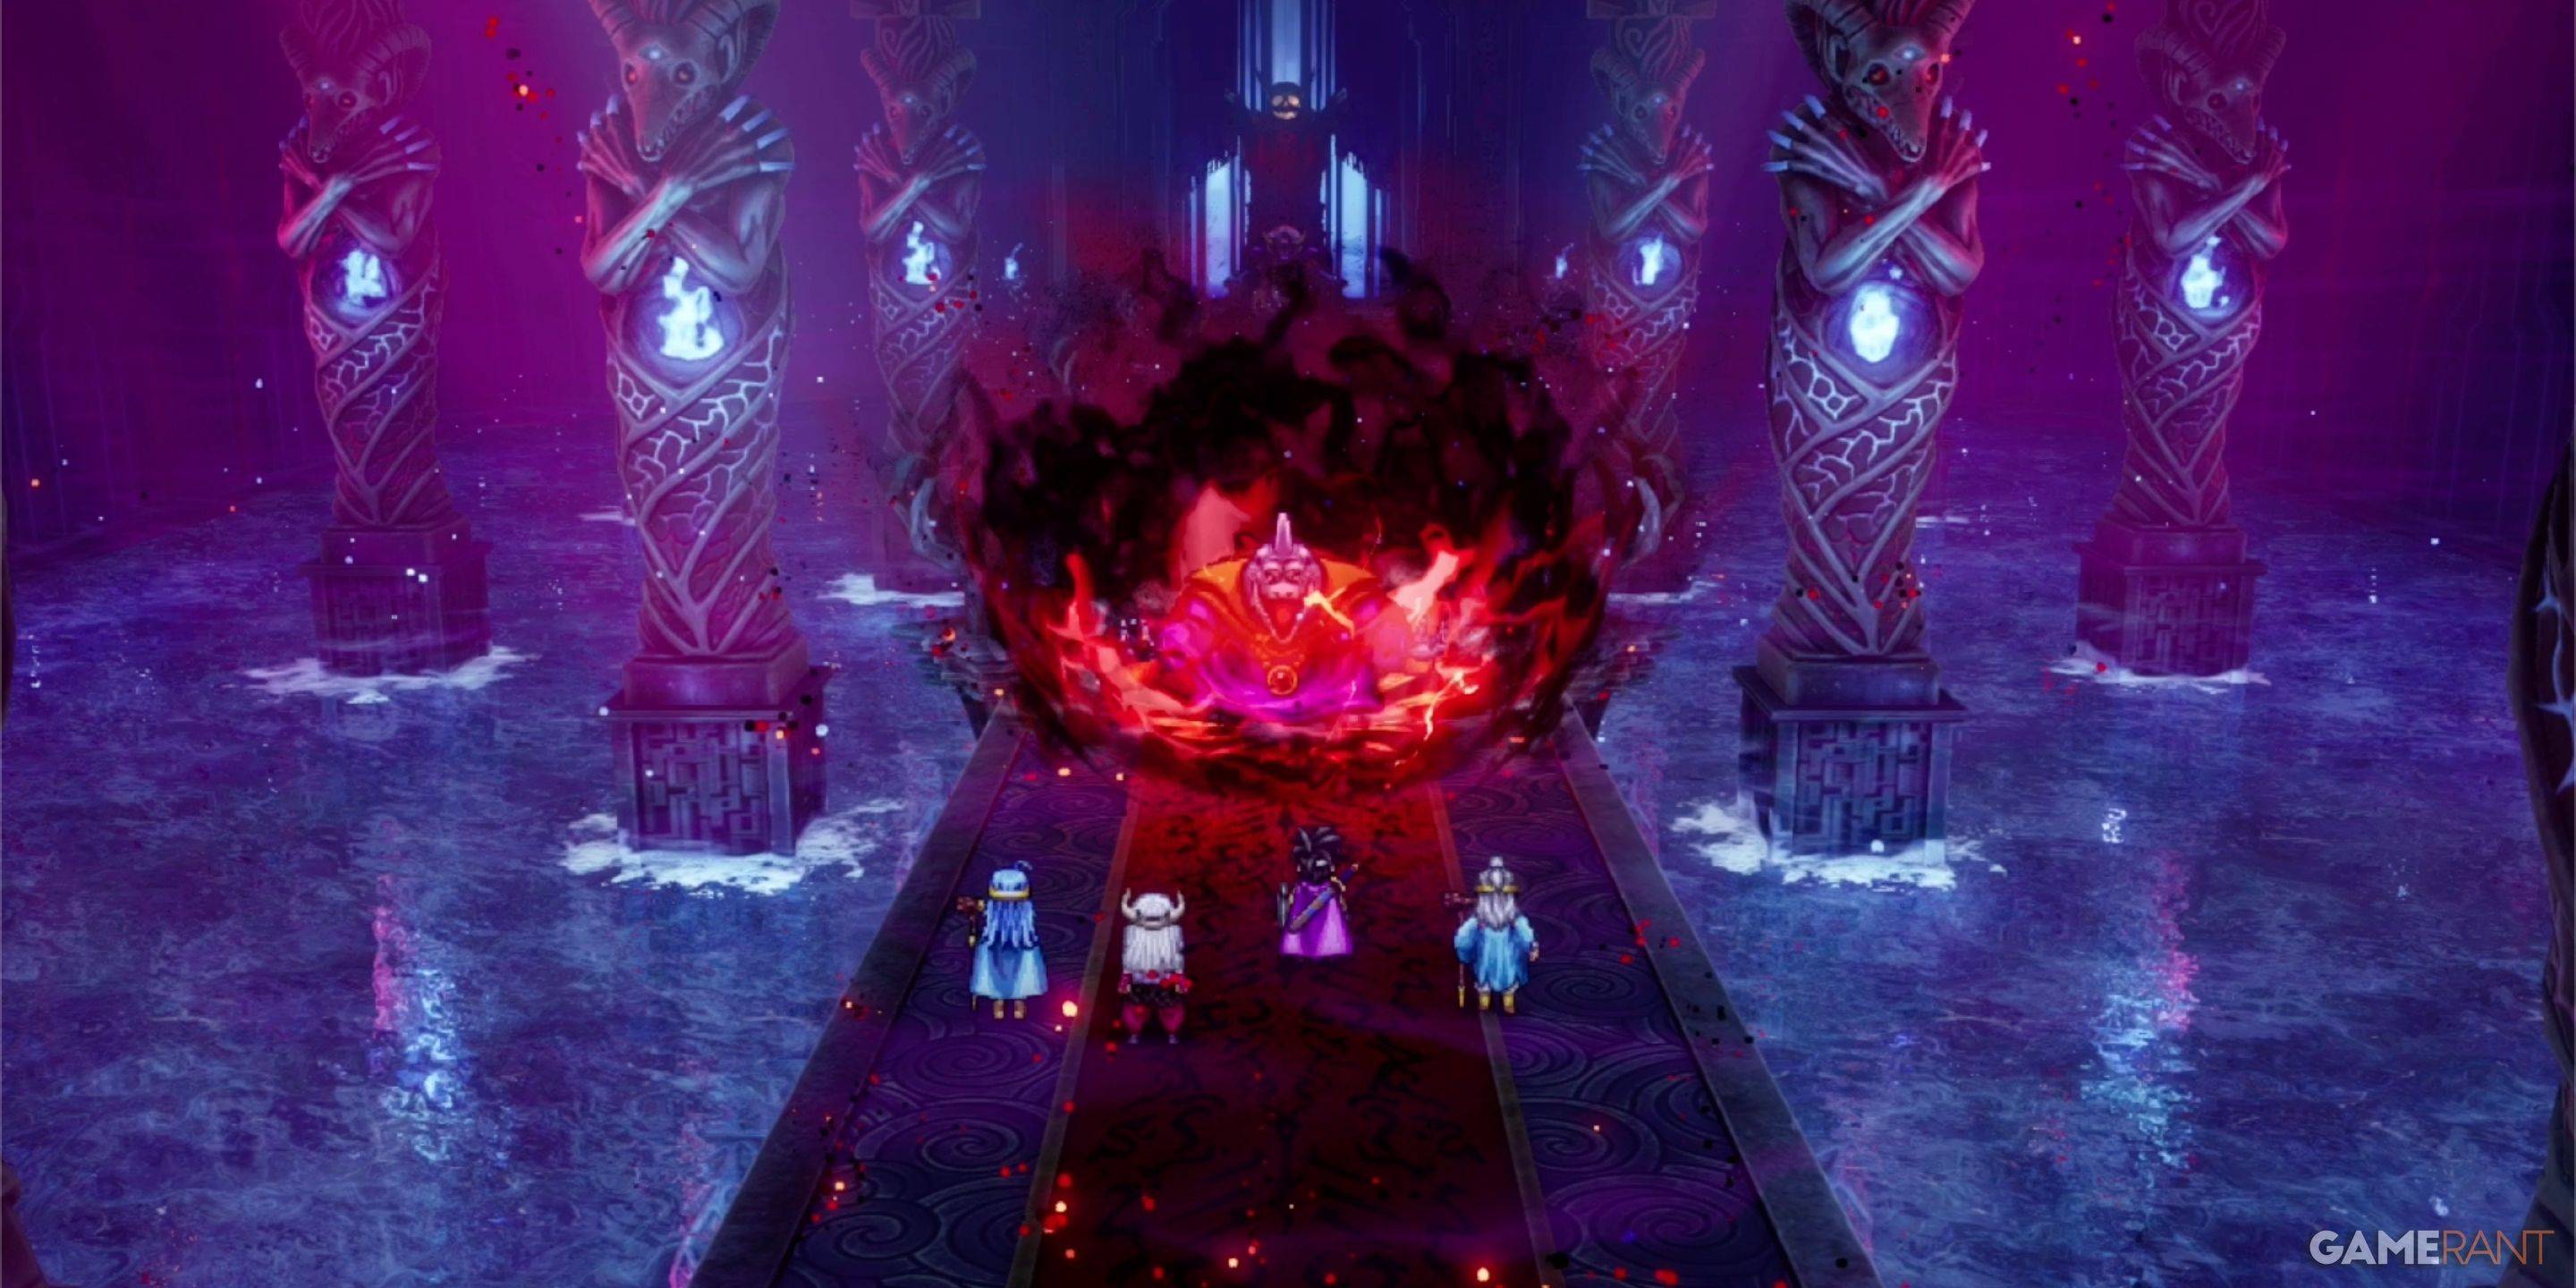 ) Weak to Zap attacks.
Bones of Baramos: ( 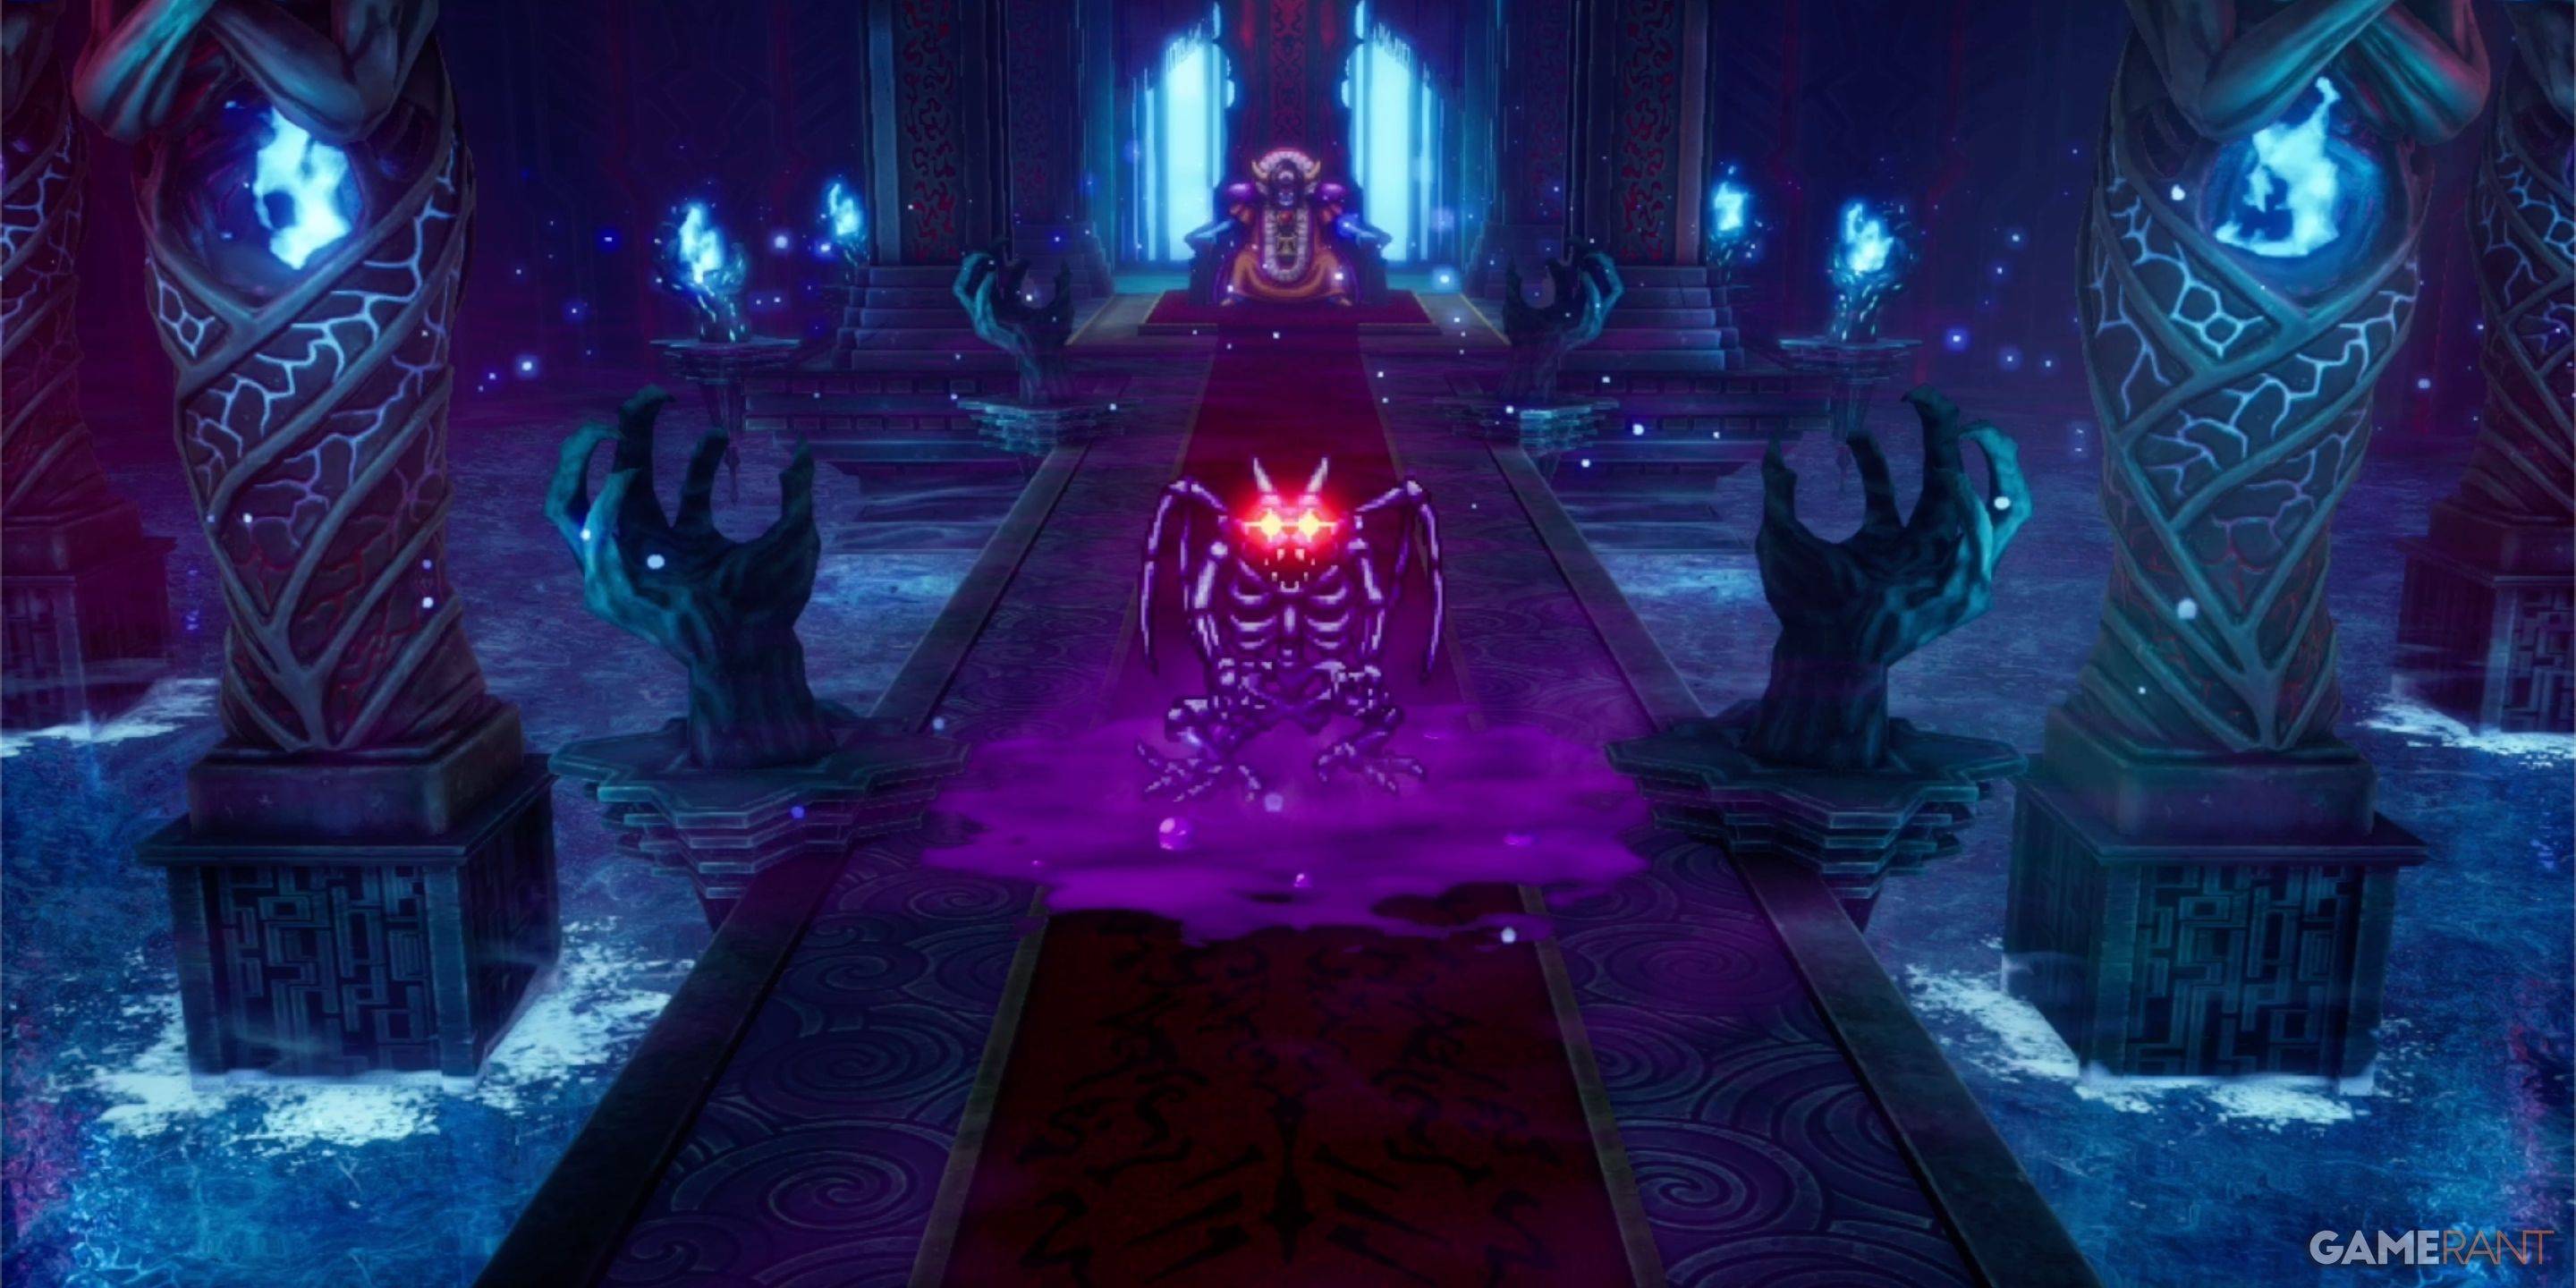 ) Similar weaknesses to the Soul. Higher damage output requires careful health management.
Zoma: (  ) A strategic fight. Conserve MP initially. Use the Sphere of Light to remove Zoma's magic barrier, making them vulnerable to Zap attacks. (
  ) Prioritize HP and avoid over-aggression.
Zoma's Citadel Monsters

| Monster Name | Weakness |
|---|---|
| Dragon Zombie | None |
| Franticore | None |
| Great Troll | Zap |
| Green Dragon | None |
| Hocus-Poker | None |
| Hydra | None |
| Infernal Serpent | None |
| One-Man Army | Zap |
| Soaring Scourger | Zap |
| Troobloovoodoo | Zap |
This comprehensive guide will aid you in conquering Zoma's Citadel and completing Dragon Quest 3 Remake!

